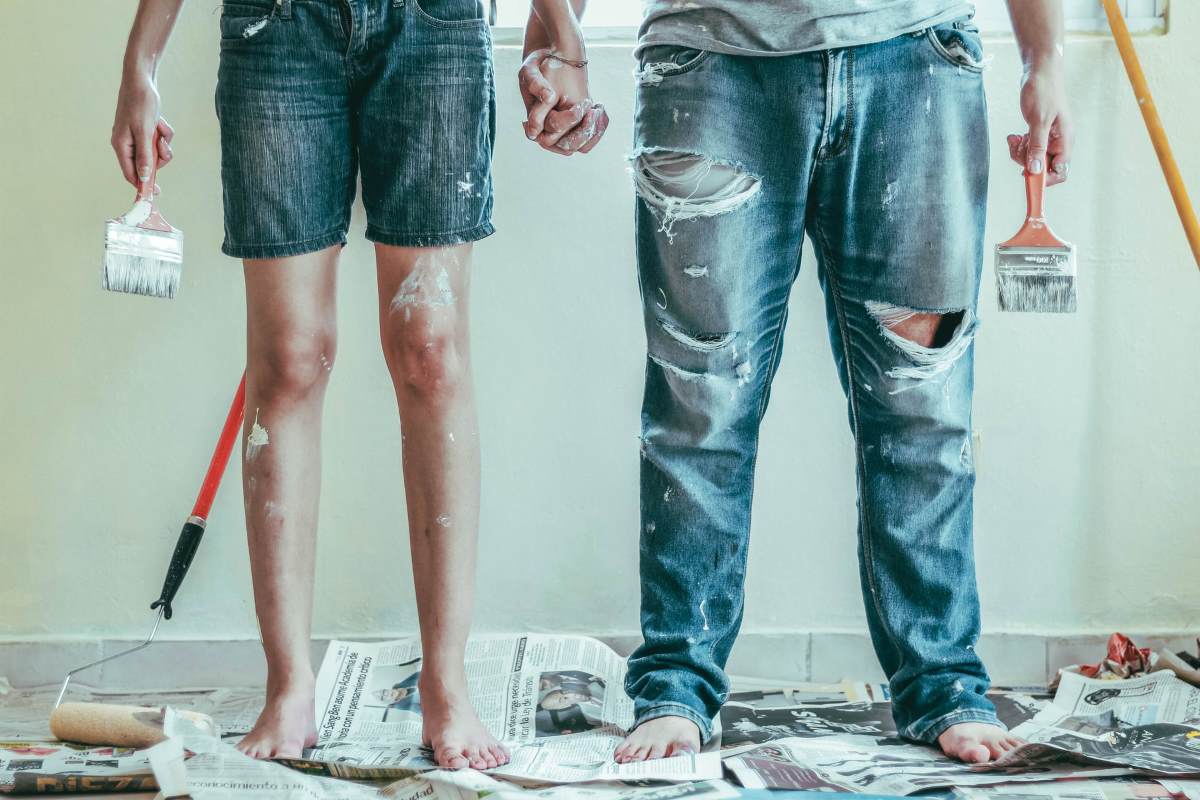
Other than carefully curated furniture and tasteful home decor, a great way to truly claim any physical space of your own is by adding pieces you made yourself. These not only highlight your personality and flair but could also ensure that your modern lifestyle truly fits into your goals and dreams. What types of DIY projects could make your luxury condo unit more homely and unique?
Here are 5 of the most intimate DIY home décor projects that you can try to make your own in the comforts of your condo:
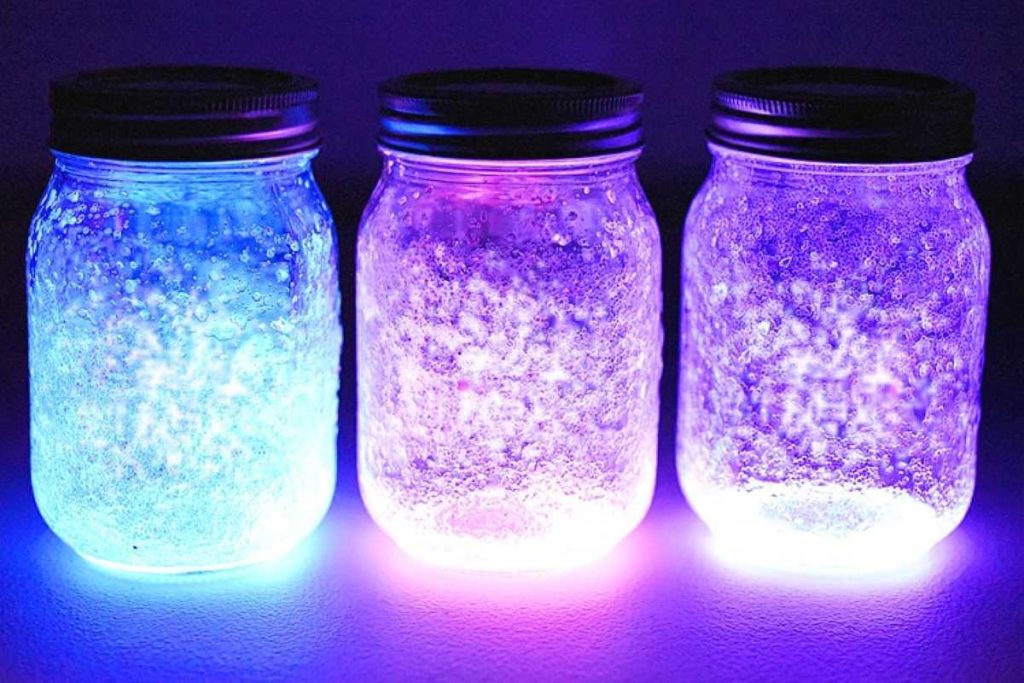
The Fairy Jar
from onelittleproject.com
Ever wanted to be in that scene from the movies — it’s a warm summer evening as you admire moonlit views, and the nighttime air is suddenly lit up by the sparkle of fireflies? Well, now you can experience it with your very own fireflies in a bottle!
The basic materials that you will need are a string of fairy lights (preferably the battery-operated, thin-stringed one for portability, safety, as well as ease of forming shapes and bends), and a glass bottle. Transparent ones from old liquor or condiments will do, but if you do not have one laying around, any jar (a mason jar is highly recommended!) will also do.
Start by taking your fairy lights and straightening them out prior to inserting them. You can either just insert it right away for that scattered light effect, or bend the wire into a spiral or ball-shaped figure for a more even lighting. To seal the glass container, you can either use the included cap or use a cork stopper for bottles. Or just leave it open to let the lights spill out of the jar, for a more luxuriously Instagram-worthy effect.
And et voila! You now have the same warm, comforting glow that the fireflies provide, but in the comfort of your luxury condo unit. Perfect as a mood light when eating or hanging out by the balcony on a summer evening while enjoying the splendid view of Ortigas, or as a nightlight if you have little ones.
It does not stop there. You can add your own twist to this project, such as using different containers — perhaps a vintage-inspired lamp holder, the casing of an old camping lantern, or tiny jam jars. You can even add additional ornaments, such as cut-out silhouettes, jewelry beads, glitters, sequins, and pebbles to make it look brighter. Or flowers, like a rose, to imitate that one famous animated film. When the holidays come, you can even create your own mini-Christmas tree out of copper wire and put it inside à la snow globe decor, perfect as a personalized Christmas ornament for your fantastic-looking luxury condo unit!
The Rainbow Lucky Star Bottle

from paperkawaii.com
Do you want a bright, and colorful decoration that is also really fun to do? One that you can turn into a past-time, perhaps while relaxing on your balcony while enjoying the views of the Wack-Wack Golf Course? Then, look no further with the rainbow lucky star bottle! It is a bottle (or any container) that is filled with various colors of origami stars, also known as a “lucky star” or “wishing star”.
To get started, first, you will be needing colorful paper for the tiny stars themselves. You have a wide range of options, from printer paper (or more commonly known as bond paper) to construction paper. Keep in mind that if you want a smaller star, you will be needing thinner paper (around 100-130 gsm), so that it can be folded easily numerous times. Then, to cut the papers into thin strips, you will need a pair of scissors, as well as a ruler and a marking tool, like a pencil or pen (any will do). Then for the container, a bottle or a jar will do. Though any container that suits your fancy will suffice. Just remember that the bigger the container is, the longer it will take you to fill it up, depending on the size of the individual stars.
To do the stars, you need to choose first the size that you want — the rule of thumb is this: the thinner the strips are, the smaller the stars will be, and vice-versa. Once you have settled with the star size, start drawing the lines on the paper, lengthwise, then cut it after. More detailed instructions on doing the origami proper are in the links below.
- https://welcometonanas.com/diy-fun-folded-origami-lucky-stars/
- https://www.thesprucecrafts.com/make-origami-lucky-stars-4107161
And that’s it! The great thing about making this is you can turn it into a past-time activity with anyone or yourself! You can get a large container and do a certain amount at a certain time, like before or after sleeping, after work, or when you are bored. You can even make it a year-long activity by making just a few, every day from the start of the year until it is fully filled by the end. And if the stars are large enough, you can even turn it into a happiness or gratitude jar. Just write on the paper before folding it and then individually open and read them when New Year’s Eve rolls around!
The Photo Clipboard
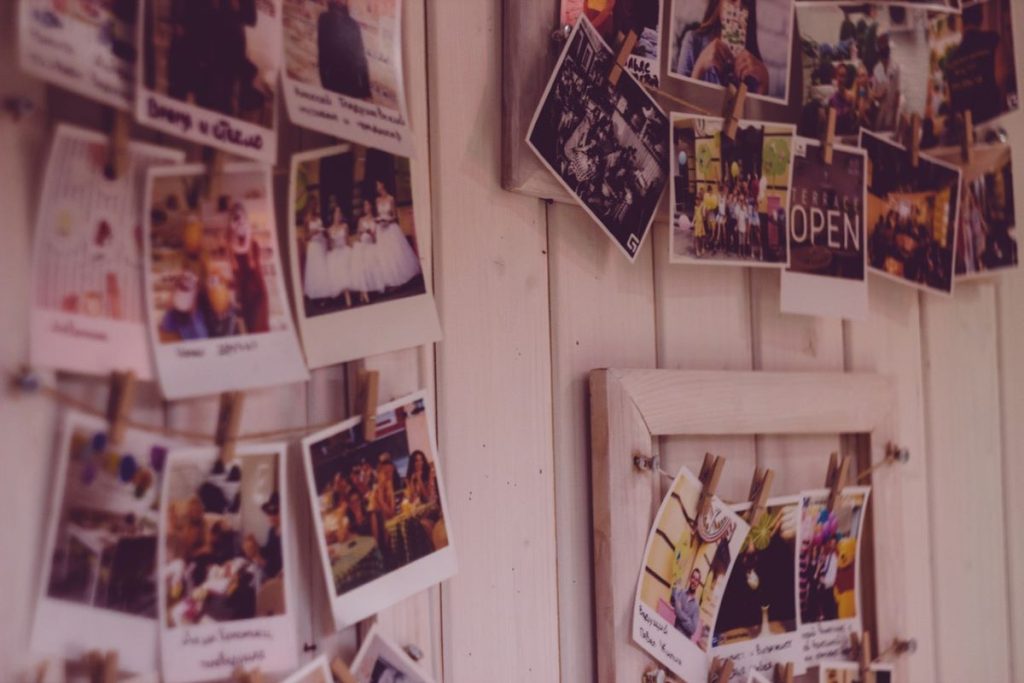
Displaying printed photographs in your luxury condo unit is a great way to relive those memories of days past. Perhaps you got nostalgic about your childhood vacation trip in Baguio? Or you missed those Mandaluyong and Pasig food trips with your office mates? Displaying photographs around your luxury condo unit can not only help you get through the lockdown, but it can also be a great conversation piece on rare occasions you might have visitors around. And here’s a much better way of showing those memories off rather than those dull-looking picture frames — clipboards.
Clipboards are not only a unique way of putting up photographs, but they are easier to maintain too! As the photos are only clipped, you do not have to worry if the photo will exactly fit the frame, you do not have to worry about the hassle of mounting and dismounting it from the wall repeatedly when changing the photos, and there is no risk of glass being shattered.
You have two options when it comes to the clipboard itself – you can either buy premade clipboards from bookstores or online stores, ranging from faux leather ones to plastic and even wood. Or you could also build your own with a piece of wood, bulldog clips, and a hook for mounting it onto a wall. This way, you can make clipboards of various sizes, and even different shapes if you want. You can even do your own wood finish such as solid color, varnish, lacquer, or even oil. And the best part is if you are no longer using it as a picture frame, it can double as a holder for posters, to-do lists, and reminders!
The Floating Book Shelf
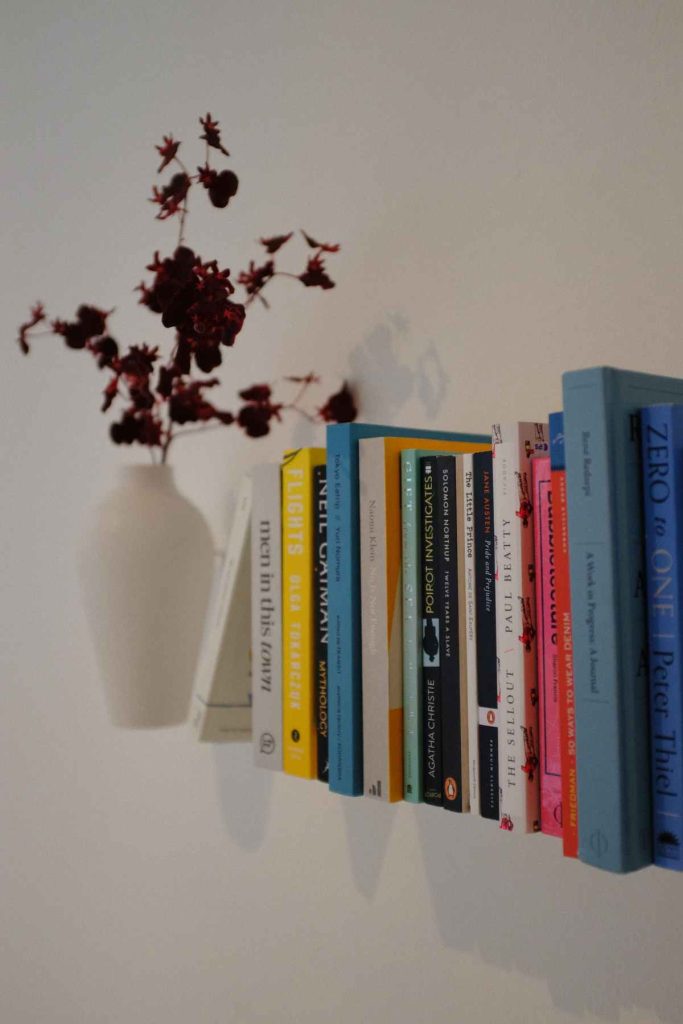
Running out of storage boxes or desk space to keep all those books you have been reading for the entire quarantine season? Here is a unique DIY project for those homeowners who do not know where to start with purchasing shelves: a shelf that does not seem to exist.
You heard that right — as the name suggests, a floating bookshelf creates the illusion that your pile of books is just floating precariously against your wall.
What you will need for this one is your book of choice that will serve as the “base” of the shelf (preferably a hardbound one and one that you do not use/read that much anymore), a pair of wall brackets (or much better, a bookend that has holes that you can use to mount it on a wall), some screws, and a handy drill.
First, what you got to do is to take your book of choice and measure its height, the height of the book will then serve as the measurement of the distance between the pair of wall brackets. (A recommended, ‘universal’ distance that can accommodate any book will be at least 4 ½ inches apart, but again, this will vary on the book that you will use). Anything beyond the height of the book and you will not be able to put it on the bracket (so make sure that the books that you will get will also fit within the base book!). Next, you then take that measurement, apply it to the wall brackets, then make the appropriate holes on the wall with the drill (you can also use a woodscrew and a screwdriver when you are doing this on a wooden wall and you have strong arms), and mount the brackets after (or before. Mounting instructions will vary). Now that you have the bracket part settled, what is left is to put the book, which is as easy as slipping the wall mount between the last page and the back cover. And to prevent the back cover from hanging down open, you will need to tape the back cover to the book or the mounting bracket. And that’s it! All that is left to do is to put the remaining books on top of it and you’ve got yourself a floating bookshelf!
But that does not stop there. If you have an old, hardbound book that you are not using, you can skip the part where you will put books on top of it after and just use it as a shelf for putting light objects on it! So rather than having plain, boring wood as a shelf on your wall, you can use a book instead! Perfect for displaying small ornaments and knick-knacks on your cozy condo unit.
The Command Center

This project is perfect for those who live with a partner, a friend, or even a family member. This could also work when you are alone and you need a way to organize things such as schedules, chore lists, receipts, notes, bills, keys, medicines, and other daily items that you do not want to forget. All while also making a nice decor for your luxury condo unit, perfect if you have a huge wall that you want to decorate but you do not know what or you do not like what is out there.
For the materials, you’ll first need the ‘base’ of the command center. This is the one that you’ll mount onto the wall and put the things onto. We have a few choices depending on your needs:
- Corkboard — this is great not only if you want to make things affordable, but also if you are planning to use mostly light/paper-based stuff such as stationery, envelopes, sticky posts, yarn, string, and the like.
- Whiteboard — similar to the corkboard, this is perfect if you only plan to post paper, notes, or other light materials. Take note that, you might not be able to customize it so much, since you are limited by the weight that the magnets can handle. Nevertheless, this is better than the corkboard if you have children around, and you want to keep them away from sharp objects such as pins and thumbtacks.
- Pegboard — this board is usually made out of wood, with evenly spaced “dots” or holes where you can put pegs (hence the name), or hooks, or even other stuff that can fit onto the holes. This is perfect if you want to put heavy things on your command center, such as wire baskets for putting a bunch of papers, or hooks if you want to hang picture frames or other similar objects.
Next, you will need to know what the purpose of your command center will be as this is where you will figure out what exactly to put in it. Like how the high-rise condo that you are living in is the centerpiece of Ortigas, the command center will become one of the centerpieces of your unit. Because as the name suggests, everything that you do on a regular basis will now be assembled and collected on it.
Do you want to keep a list of the chores that you need to regularly do in a specific order? Then you might want to get a list that can be thumbtacked if you are using a corkboard, or a clipboard if you are using a pegboard. Are you the type of person who tends to scribble a lot of random notes while working throughout the day in your luxuriously spacious condo unit? Then a block of sticky notes within reach might be ideal for you. Or are you (or your children, or the person who is living with you) the type who tends to forget the daily essentials, such as the keys to the unit, a wallet, or some facemasks and alcohol? Then maybe getting a pegboard command center with a cubby basket to go along with it will help with that.
Once you have got everything that you needed, plan a layout with rough sketches first. This will help you get your crafting materials settled without the hassle of having to constantly change the arrangements once the whole command center is installed. Examples of where you can install the board are the kitchen, in the living room, or on a wall near the door of the unit (if your command center is designed around not forgetting the daily essentials).
And to add some finishing touches, you can freely decorate it further by using flowers, leaves, photos, or even a mini potted plant if you are using a pegboard! Or if it is Halloween, you can mount a jar of candy for celebrations or personal sweet-tooth binging! During the holiday season, you can string garlands, Christmas balls, poinsettia, ribbons, and even Christmas lights on your board. The command center is where every ongoing activity inside your unit is displayed, utilized, and maximized — keeping you always ready for life!
Related Blog: The Rise of Home Design and Improvements During the Pandemic