
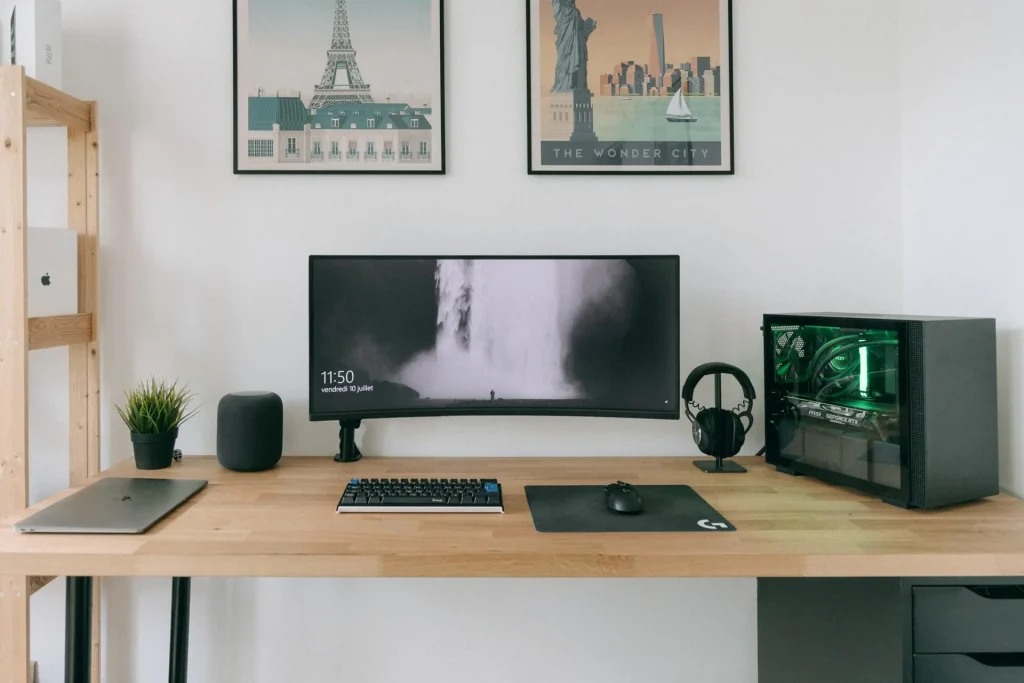
Building a PC from scratch in your condo in Bacoor is easier than you might think. It looks complicated but most of what you’ll do are screwing in the right screws or connecting cables. You just need to be extra careful with your PC components and take proper precautions since most parts are fragile. In this article, we’ll teach you step-by-step how to build your own PC, with the help of TechRadar!
How to Build Your Own PC
Before building your own PC at your condo in Bacoor or before starting to find your PC parts, you should first understand what you want to create. With lots of variables and parts to get, you might get overwhelmed so knowing what you want or what its use will help you in choosing what works for you.
Your PC can be built for different needs. Whether it’s your own gaming PC and you want your own custom PC, or you want a PC for editing photos and videos, or even if it’s just for your daily tasks or needs for your school or work, building a PC can help personalize your computer to suit your needs. Once you know what kind of PC you want, you will understand what kind of variables you need — these are the components that make up your computer and determine its performance.
Once you’ve decided what kind of PC you want to build, you can begin to research and purchase the hardware.
These Are the Essential Components for Your PC Build:
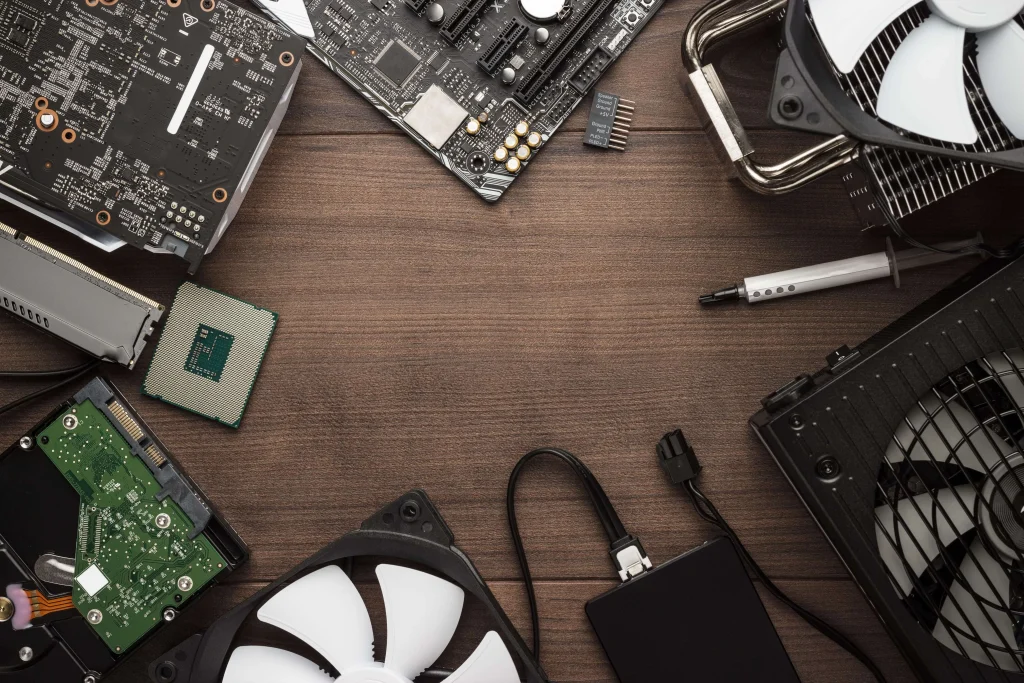
- Motherboard – This is the circuit board that connects everything together — your hardware, the power supply, and the graphics cards. This should be your starting point.
- Processor or CPU – The Processor is the engine of your computer and sets the performance expectations for the entire build. The Processor provides the processing power and instructions behind all your computer’s operations.
- Storage (hard drive or SSD) – This is where your files and data are saved — either a hard disk drive (HDD) or solid-state drive (SSD). The difference between HDDs and SSDs is HDDs use a spinning platter to read and write data while SSDs use digital/flash memory.
- Memory (RAM) – RAM gives your system more available space to temporarily store data that’s being used, so it helps you carry out simultaneous tasks, such as having several tabs open while surfing the web without long load times.
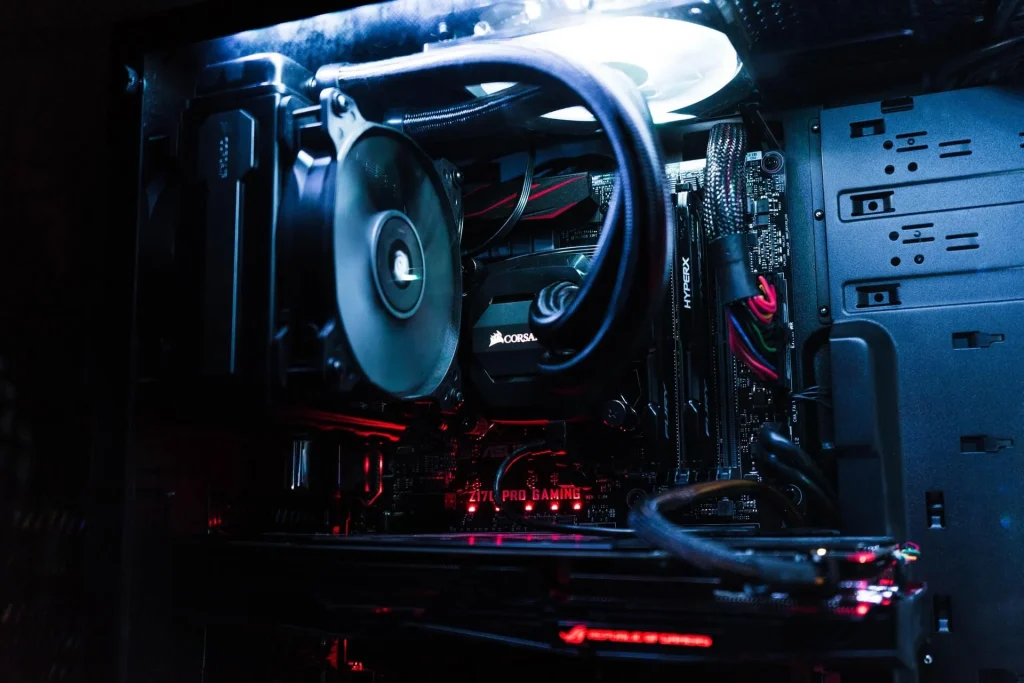
- Case, Fan, and Power Supply – If you’re creating a high-powered performance workhorse, you’ll need a robust power supply unit to make it all run. If you’re building your own PC for gaming, an active cooling system or sometimes liquid cooling systems are needed.
Now that you have all the components you need, make sure that there is a clean and wide workspace for you to set up your PC. Your place should be as comfortable as it can be since you’ll be spending hours on your PC!
Here Are the Steps on How to Build Your Own PC at Your Condo in Bacoor:
1. Prepare your PC Case
The first thing you want to do is prepare your case. Make sure to unscrew all panels and keep them in a safe space since some cases are glass.
2. Install your fans
If you have extra cooling fans, you can start installing them. As much as possible, try to keep your cooling fans balanced. Typically, you want two fans in the front drawing air in and at least one in the rear blowing air out. You could also screw one or two more optional fans into the roof of the PC case for additional exhaust if your PC case has mounting points for them.
3. Install the Motherboard
If your PC case has pre-installed motherboard standoffs, check the number and arrangement of them conform to the holes found on your motherboard. Next, check if your PC case has a large CPU cutout. If it doesn’t, you may want to install any CPU cooler back plates and M.2 solid-state drives at this juncture. Find your motherboard’s rear I/O shield, and push it into the rectangular slot in the back of your PC case. Make sure it’s right side up by matching the pattern of cutouts to the arrangement of ports on the back of your motherboard.
Next, lay your motherboard down inside the chassis – carefully lining up its rear ports with the corresponding holes in the I/O shield you just installed – on top of the standoffs installed in your chassis. Then secure the motherboard with the screws that came with the chassis.
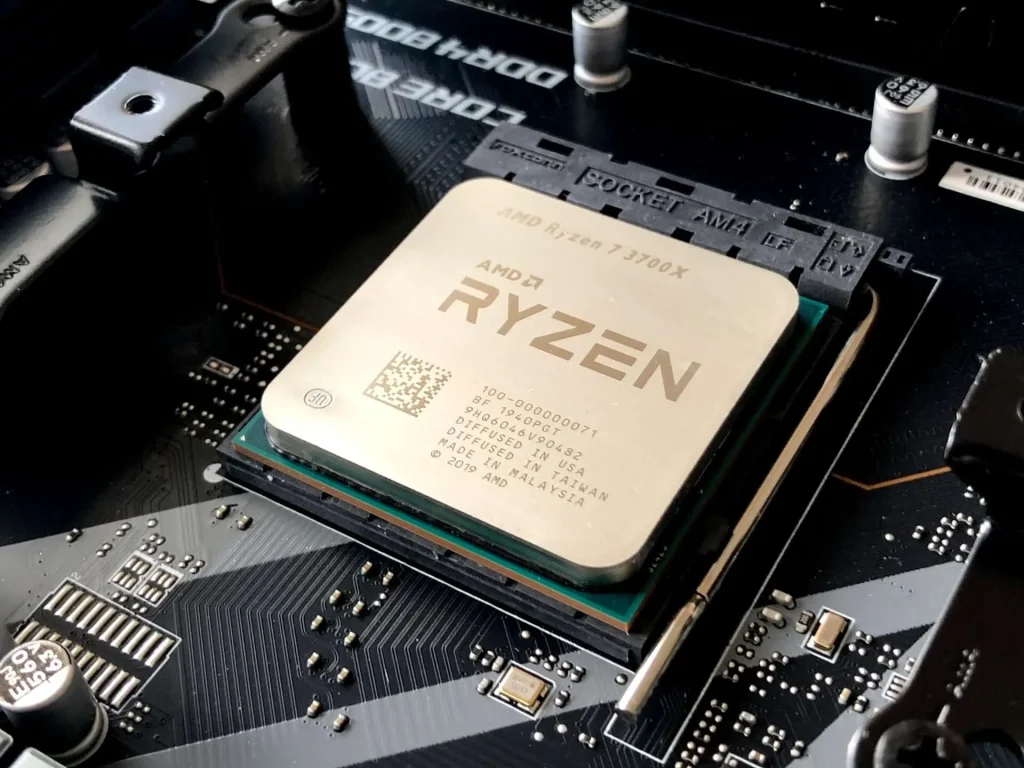
4. Install the CPU
Next up, socket your Central Processing Unit /CPU into the motherboard.
For Intel mainstream CPUs, slide the spring-loaded retention arm out and up, then lift the bracket up leaving the plastic cover in place. Then, gently place your CPU inside the socket, matching the golden triangle located on the bottom left corner of the processor, with the triangle on the socket bracket. You should slide the securing bracket back into its original position so it locks in place underneath the screw, and secure the retention arm back down. Be sure to stow the cover away in a safe place as it’ll protect the motherboard’s sensitive pins if you decide to remove the processor from the motherboard.
If you’re installing an AMD CPU, it’s easier since there’s no bracket here. Lift the retention arm in its raised position. You should then take your processor and match the golden triangle on the corner of the Ryzen processor with the triangle on the socket. Once the pins on the bottom of the processor line up with the holes on the socket, drop it into place. Give it a little nudge to make sure it’s secure, then lower the retention arm back down and lock it into place.
5. Install your RAM
To install your RAM, push down the latches at either end of the slots on your motherboard. Make sure you use the farthest and second closest slot from the CPU if you’re only using two memory sticks. Then line up the notch on the bottom of the memory with the notch in the slot. After that, you can install the memory by carefully pushing down both sides of the memory into the slot. You should hear a clicking sound as the memory secures into place and the latches click back up.
6. Install your hard drive / SSD
Time to install the memory storage. Installing 2.5-inch drives into these caddies is a cinch, as you can simply slide it into place with the option of fully securing it with four screws. No matter what type of storage drive you’re installing, ensure the connection ports are facing toward a cable cut-out inside your chassis as it will make routing all the cables easier.
7. Install your Power Supply
If your PC case comes with a PSU bracket, remove it ahead of time and attach it to the back of the unit. Next up thread the cables through the PSU slot in the back of the case first, and then slide the PSU into place, securing the bracket back onto the chassis.
8. Connect everything to the Motherboard & Power Supply
To get your front power buttons working properly, you need to plug in the correct cables. For everyone else, take the individual pins, and, using the motherboard installation handbook, identify which pins and cables need connecting. Try to do this part gently do, so as not to bend the pins.
Now, you can plug in the rest of your power cables.

9. Install your Graphics Card
This is very crucial for the gaming PC building process as you can’t run a huge majority of games without a good graphics card. Locate the PCIe slot closest to your processor. From there locate the two PCIe slots next to where you’ll want to install your Graphics Processing Unit or GPU and remove them. In most PC cases, that’ll involve undoing two screws on the PCIe slot covers and removing them. Take your graphics card out of the anti-static bag and line it up with the slots we just opened up. The rear I/O on the GPU should be facing out the back of the chassis. Once the gold contacts on your GPU are touching the PCIe slot, gently push it into place until you hear a click. Then use the same screws we removed from the PCIe slot cover to secure the GPU into place.
10. Boot your PC
Now the system’s built, you want to make sure your PC actually turns on and runs properly so don’t reattach all your panels yet.
Take your temporarily built tower over to your pre-setup computer space and plug it into power, a screen, keyboard, and mouse too. Power it on, and mash the delete key to get into the BIOS screen. Check your CPU temp, make sure that’s operating somewhere around 30-40 degrees C, and ensure that your boot drive is registering correctly.
If everything is showing up, now is also a good time to enable the XMP for Intel or DOCP for AMD to make sure your memory is operating at the correct frequency. Then hit F10, save and exit.
Install Windows or any operating system you choose. You can use a USB Flash Drive or if your PC has a CD slot, use a CD. It will take a while but once, you’re done, connect your PC to the internet to download all of the updates and plug-ins needed for your PC to run well.
AllDigital

Photo from allvalue.com.ph
AllDigital is AllHome’s expansion, offering its product featuring everything innovative and digital, AllDigital is a tech emporium that offers a wide variety of gadgets—laptops, cellphones, cameras, drones, e-scooters, and even collectible toys. Designed to be experience-focused, the AllDigital store allows gamers to try the newest games with its gaming nook, complete with a high-spec gaming desktop and a top-of-the-line gaming chair; e-scooters are on display and can be tested in-store; drones have a dedicated fly zone where customers can fly them safely. For the discerning toy collector, life-size models are on display to complement a comprehensive offering of collectibles. At AllDigital, customers can get first-hand experience of cutting-edge technology and gain access to the latest mobile phones and gaming consoles on the market. AllDigital’s store format will capture the excitement and imagination of technology enthusiasts, and appeal to gamers, photographers, music lovers, and toy collectors.
AllDigital is located at EVIA Lifestyle Center, Las Pinas City. The store opens every day from 10 AM to 8 PM.
The Meridian by Crown Asia Properties
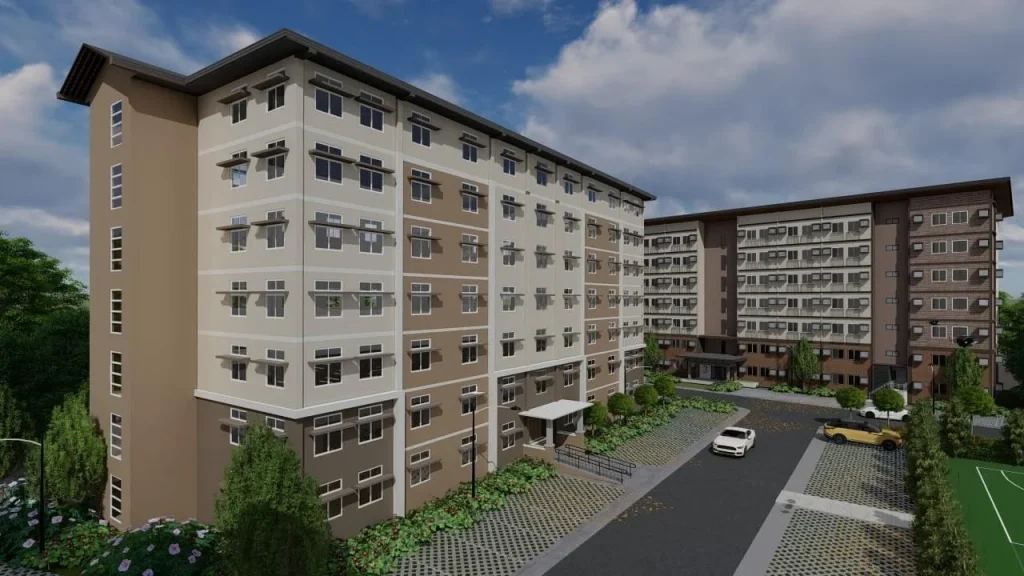
Anchored at the Center, Connecting Life.
The Meridian is a premium mid-rise condominium development for sale where the project offers 1-bedroom and 2-bedroom spacious and secure condominiums, complemented by modern contemporary architecture, sprawling landscaped gardens, and a resort-inspired amenity area perfect for young entrepreneurs aspiring for spacious condo-living at the center of Metro Cavite. Soon, The Meridian will be directly connected to the 180-hectare township in Bacoor, the NOMO Garden City, because of the upcoming River Drive road that connects the project to NOMO Avenue. Truly, the Meridian is accessible anywhere you go and offers all kinds of Vista Lifestyle you deserve.
Avail a unit at Meridian and get discounts as high as 20% for spot cash payments. Reserve a unit until July 31, 2022, and get the chance to furnish your own unit as you can get a PHP150,000 gift check from AllHome. Truly, The Meridian is ready for occupancy condominium ready for you to enjoy life.
Read more: Smart Devices to Have for Your Home