Image source: https://unsplash.com/photos/brown-pastry-on-white-ceramic-plate-2MQ5q8PUQPc
There is something quietly beautiful about Danish pastries. They are graceful, layered, and never rushed. Each step feels like a slow conversation between patience and precision. People return to them again and again because the process itself feels grounding. It is one of those recipes that reward focus and time. The process of doing laminated dough, usually with danish dough or croissant dough, wherein the pastry is made by continuous folding and rolling butter into dough that results to alternating thin layers of dough and cold butter, is an art in itself.
Danish pastry recipes like puff pastry and croissant have recently found their way back into home kitchens. Maybe it is because more people are craving rituals that feel thoughtful. Maybe it is because when you make one from scratch, you can actually taste the work behind it. Whatever the reason, a Danish pastry will always hold that kind of charm.
This guide will show you how to master the technique and explore a few variations you can try once you understand the basics. Each version has its own story, its own balance of texture and flavor.
The Foundation: Danish Pastry Dough
Every version begins with the same base. A Danish pastry dough is a yeasted dough, rich and structured, built on layers of butter and flour. The process is called lamination, and it is what creates that recognizable flake and lift.
Start by mixing 400 grams of bread flour, 60 grams of sugar, 8 grams of fine salt, and 7 grams of either instant yeast or active dry yeast in a bowl. Warm your milk until it is just comfortable to touch. This warm milk will help form the yeast mixture that gives your dough a gentle rise. Combine it all to create a sticky dough.
You can use a dough hook if you prefer precision, but working with your hands lets you understand the texture. Once smooth, wrap the dough in plastic wrap and let it rest at room temperature before chilling. Cooling the dough allows it to strengthen without becoming tough.
Now, prepare your butter block. Press 250 grams of unsalted butter between two sheets of parchment paper until it forms a neat square. It should feel cool and flexible, never soft or oily. Roll the dough into a rectangle, place the butter block in the center, and fold the sides neatly over. Begin rolling out the dough with a rolling pin, then fold it into a square. This is your first turn. Repeat the process two more times, chilling between each. Store the dough in the fridge overnight or refrigerate overnight.
This is your base. Every real Danish pastry begins here.
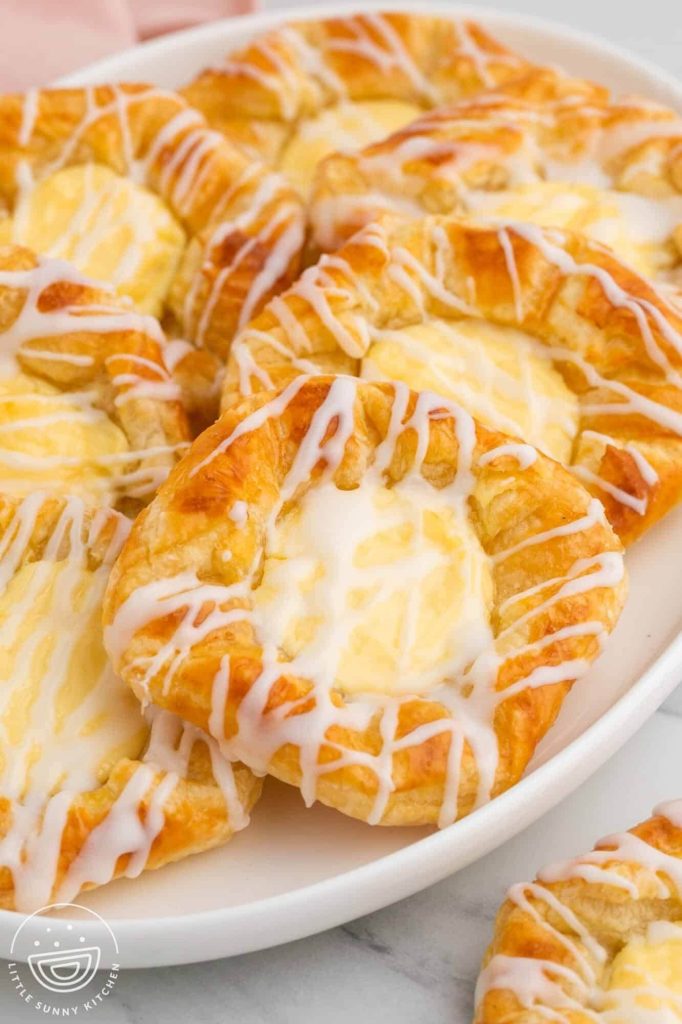
The Classic Cream Cheese Danish
The cream cheese danish is the pastry everyone knows. It is soft, rich, and slightly tangy, with layers that melt when you bite through them.
Roll the dough gently into a smooth sheet on a lightly floured surface. Cut into even squares and transfer them onto a baking sheet lined with parchment paper. In a medium bowl, combine cream cheese, sugar, vanilla, and a bit of your milk mixture for a smooth cream cheese filling. Place a small spoonful at the center of each piece.
If you want a touch of brightness, swirl in a teaspoon of raspberry jam. Brush the edges lightly with egg wash and bake until golden brown. The result is a soft, buttery pastry with a tender center.
Serve warm or at room temperature. When made well, this version feels simple yet complete. It is what most people imagine when they picture baked danishes.
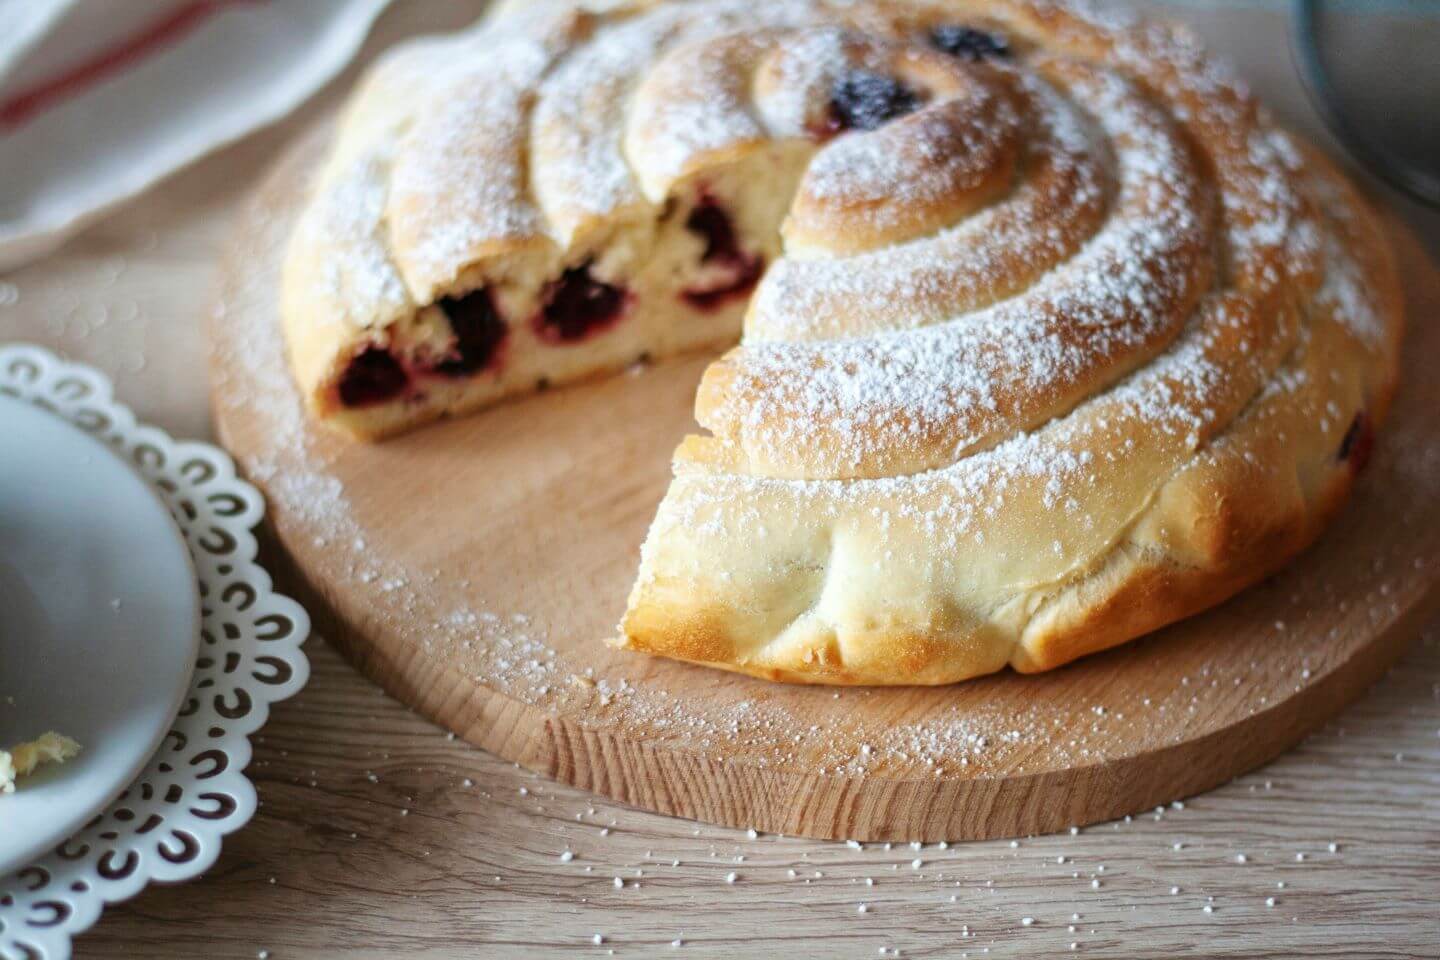
The Fruit-Filled Danish
The fruit-filled Danish is playful and lively. It adds color and a hint of sweetness without overwhelming the pastry.
Slice apples, peaches, or berries and layer them over a small base of cream cheese or custard. Sprinkle lightly with sugar before baking. As the pastries rise, the fruit juices caramelize and sink slightly into the dough, creating a glossy, fragrant top.
Use a baking tray to catch any syrup that may spill as it bakes. Once they are done, let them cool briefly, then dust with sugar. The combination of crisp edges, juicy fruit, and flaky pastry makes this version feel bright and effortless.

Image source: https://turkishstylecooking.com/danish-recipe.html
The Savory Danish with Cheese and Herbs
A Danish does not have to be sweet. This savory version is rich, balanced, and perfect for slow mornings.
Start with your chilled dough and cut it into rectangles. In a bowl, mix cream cheese, finely chopped herbs, and a touch of garlic butter. Add a little shredded cheese on top before baking.
Bake on baking sheets until puffed and evenly golden brown. The layers stay crisp while the center turns creamy. The buttery Danish pastries pair beautifully with coffee or even wine for an elegant breakfast.
Notes on Technique and Texture
Making a real Danish pastry starts with understanding how the ingredients behave. Begin with your yeast mixture and warm milk to activate it properly. Mix until a soft yeasted dough forms. If it looks rough, let it rest. Time always helps the texture even out.
Use frozen butter for lamination so your layers stay defined. A pastry cutter helps if you need to slice or shape the butter block more neatly. When folding, work on a lightly floured surface with just enough more flour to prevent sticking. Avoid excess flour, which can toughen the dough.
Roll gently and evenly. Fold into a dough square, then roll the dough out again. Continue folding until the layers build up. If the butter begins to soften, stop and chill before continuing. Once finished, wrap and rest overnight in the fridge. Allowing your dough to relax overnight gives you stronger layers and a smoother texture.
When ready to bake, unwrap the dough. You should feel resistance, but it should roll easily. For a Danish recipe that stays balanced, fill the centers with cream cheese, custard, or fruit. For extra crunch, top with chopped nuts. Some bakers like to experiment with a small spoon of sourdough starter in the dough to add complexity, a quiet nod to Vienna bread, the ancestor of many modern pastries in European dessert cuisine.
As the baked danishes come out, look for flaky dough that separates into clear layers. The sound of the crust cracking softly when you tap it tells you it’s perfect. The inside should be tender, never doughy, with a structure that feels like a refined pie crust, only more delicate.
Taste it warm, and you will understand why people describe this as an absolutely delicious and wonderful recipe. It feels like comfort and precision at once.
If you follow this as a written recipe, share your experience and leave your thoughts. Give it 5 stars if it taught you something new or inspired you to try again. That kind of feedback adds to the required recipe ratings that guide other bakers toward success.
When everything aligns, when your pastries rise cleanly and the color turns just right, you will see why people fall in love with this craft. It is slow, simple, and deeply rewarding.
Baking, Glazing, and Finishing Touches
Every version of this pastry follows the same rhythm at the end. Line your trays with parchment paper, brush the dough with egg wash, and bake until you see the edges turn crisp. The kitchen will fill with the scent of caramelized butter and sugar.
Once out of the oven, let the flaky pastry rest. If you like a glossy finish, brush lightly with a sugar glaze while it’s still warm. That subtle sheen makes the pastries look as elegant as they taste.
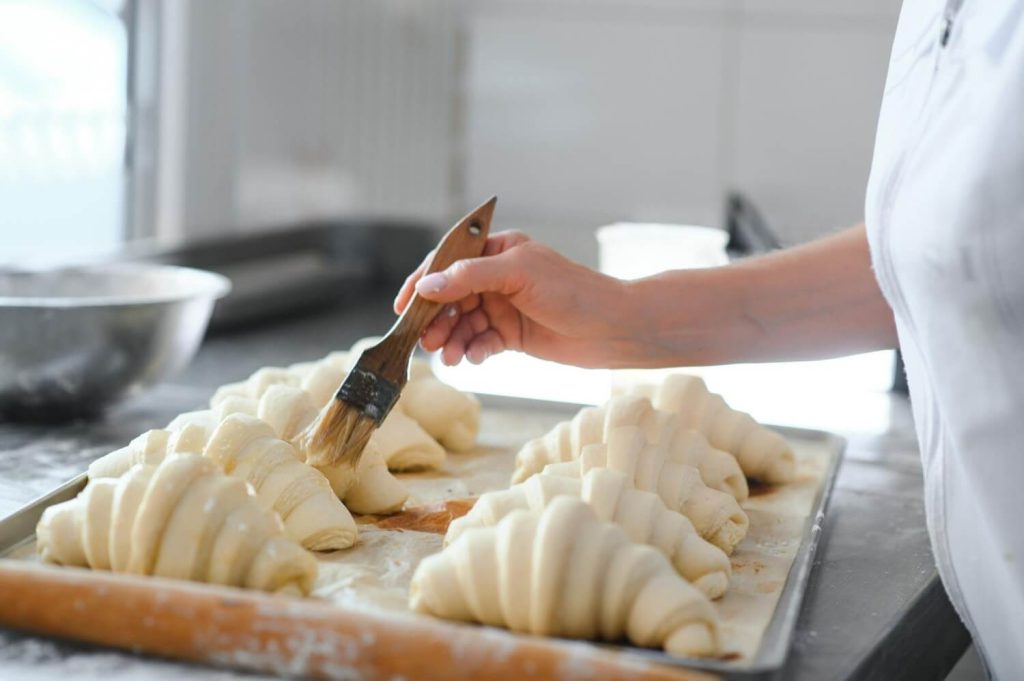
Image source: https://www.freepik.com/premium-photo/pastry-chef-making-some-croissant-bakery_258957273.htm#from_element=cross_selling__photo
How to Store and Refresh Danish Pastries
If you have leftovers, let them cool completely before storing. Keep them in an airtight container at room temperature for up to a day. To refresh, place them in a warm oven for a few minutes to bring back the flakiness.
Unbaked pieces can be frozen and baked later. Layer them with parchment paper, freeze until solid, then move them to a sealed container. When ready to bake, thaw in the fridge overnight, proof, and bake as usual.
A Quiet Reflection on Craft and Living Well
Making Danish pastries is not only about baking. It is about learning rhythm, care, and patience. You measure, fold, and wait. You slow down enough to notice how butter softens and how dough responds.
It is that kind of intentional rhythm that connects baking to living. When you create something this detailed, it changes how you see your space. It makes you appreciate quiet mornings, clean counters, and that small sense of calm that comes from doing something well.
That same philosophy defines Crown Asia. Their homes reflect balance, craft, and intention. Every detail is considered. Every element feels calm and purposeful. A place where you can bake with focus and let the scent of buttery Danish pastries fill the air.
In the end, it is not about the recipe alone. It is about the act of creating something beautiful, one fold at a time.